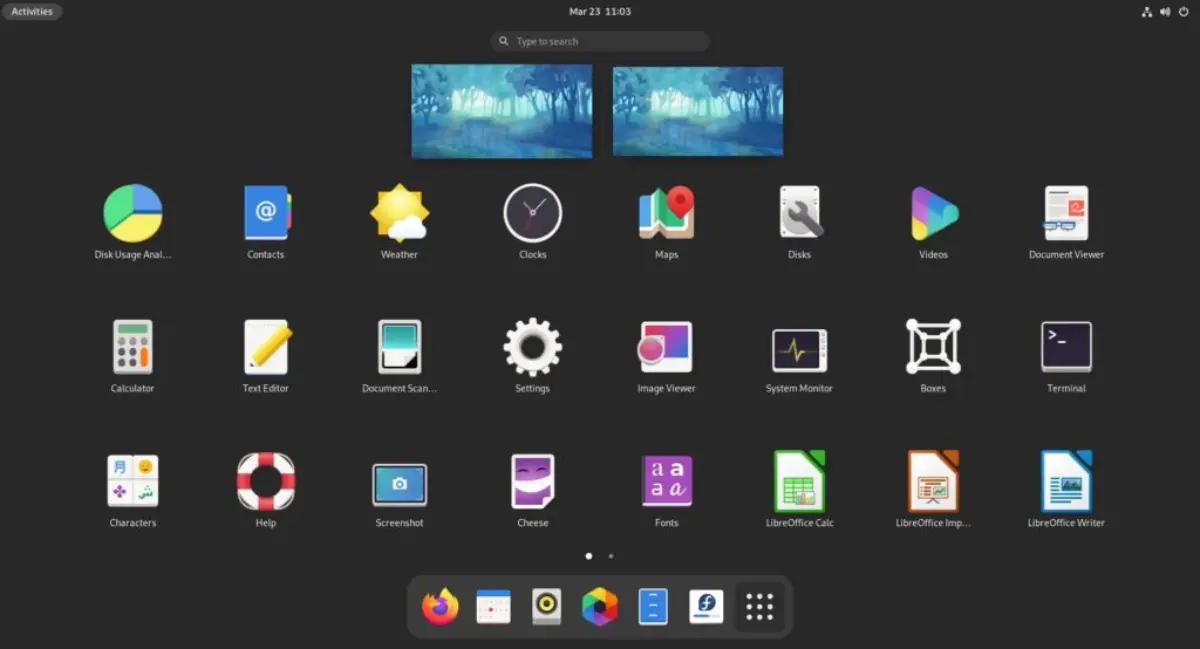
Now that Fedora 34 is released with all of it’s new goodies we will show you how to upgrade your system. This guide will show you how to upgrade your Fedora 33 (or earlier) system to the latest and greatest. We will be upgrading Fedora using the DNF package manager. Let’s get started.
NOTE: Before doing any type of upgrade it is important to back up your data. Although this process is thoroughly tested, it is possible (albeit rare) that things can go wrong. BACK UP YOUR DATA!
Step 1: Elevate Your Privileges to Root
The first thing we want to do is become root. You can use su or sudo for this.
su -OR
sudo -sStep 2: Upgrade All Current Fedora Packages
It is important to make sure you have the latest packages for all currently installed software. The DNF package manager provides a simple way to ensure this is done.
dnf --refresh upgradeStep 3: Reboot Your System to Load Latest Kernel
Now we will reboot the system to ensure we have loaded the latest kernel. If you are sure you are already running the latest kernel, this step can be skipped. If you are unsure at all, it is advised to reboot.
rebootStep 4: Install DNF System Upgrade Package
Now that your system is rebooted, switch back to root using just as we did in step 1. Your prompt should show a pound sign indicating you are root. Now we can using DNF to install the system upgrade plugin like so:
dnf install dnf-plugin-system-upgrade --bestStep 5: Download Fedora 34 Packages for Upgrade
Now we use the system upgrade plugin to download all the packages that are needed to upgrade to Fedora 34.
dnf system-upgrade download --refresh --releasever=34Step 6: Start the Upgrade Process
Now we will use the DNF system upgrade plugin to start the upgrade. Be aware, the system will reboot during the upgrade process.
dnf system-upgrade rebootOnce the system reboots, it will automatically start the upgrade.
Leave a Reply Cancel reply
This site uses Akismet to reduce spam. Learn how your comment data is processed.
1 Comment
Join Our Newsletter
Categories
- Bash Scripting (17)
- Basic Commands (51)
- Featured (7)
- Just for Fun (5)
- Linux Quick Tips (98)
- Linux Tutorials (65)
- Miscellaneous (15)
- Network Tools (6)
- Reviews (2)
- Security (32)
- Smart Home (1)


Upgraded from 33 to 34. Most uneventful upgrade yet! Never could use the downloaded installers because of my non-standard drive mappings and ancient raid arrays. DNF doesn’t care! They used to warn that a DNF upgrade was dangerous. It’s the only thing that has worked for a long time now.